Ultimate Guide To Painting A Garden Fence
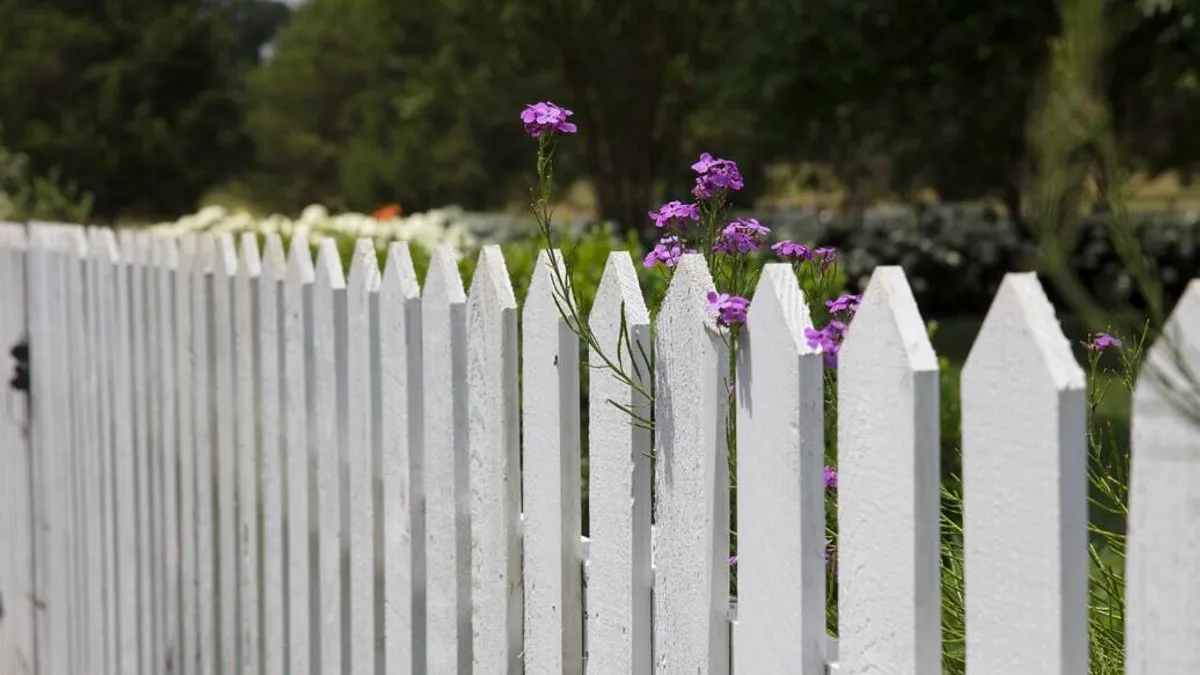
Refreshing your garden is a key task on the to-do list of all homeowners while the weather is dry. One of the most common of these jobs is painting exterior fences, which have a tendency to become run down due to the quality of wood used. In this guide we will run through all the details you should know before starting a paint job on your garden fence, giving you advice on how to paint it, suggested paints to use and why you should paint it in the first place.
Why Paint Your Fence?
There are a number of reasons why painting garden fences is a crucially important part of bringing your home to life.
- Offers protection from wind, sun and rain
- Wood doesn’t last long on its own and can rot easily without adequate protection
- Can rejuvenate your outside space
- Maintenance is low and with the right application you shouldn’t have to paint for a number of years
- The style options to paint your fence are very flexible, using varying colour schemes or even adopting its natural woody tones
- Staining or painting helps reduce water getting inside the fence, giving it an extra layer of protection
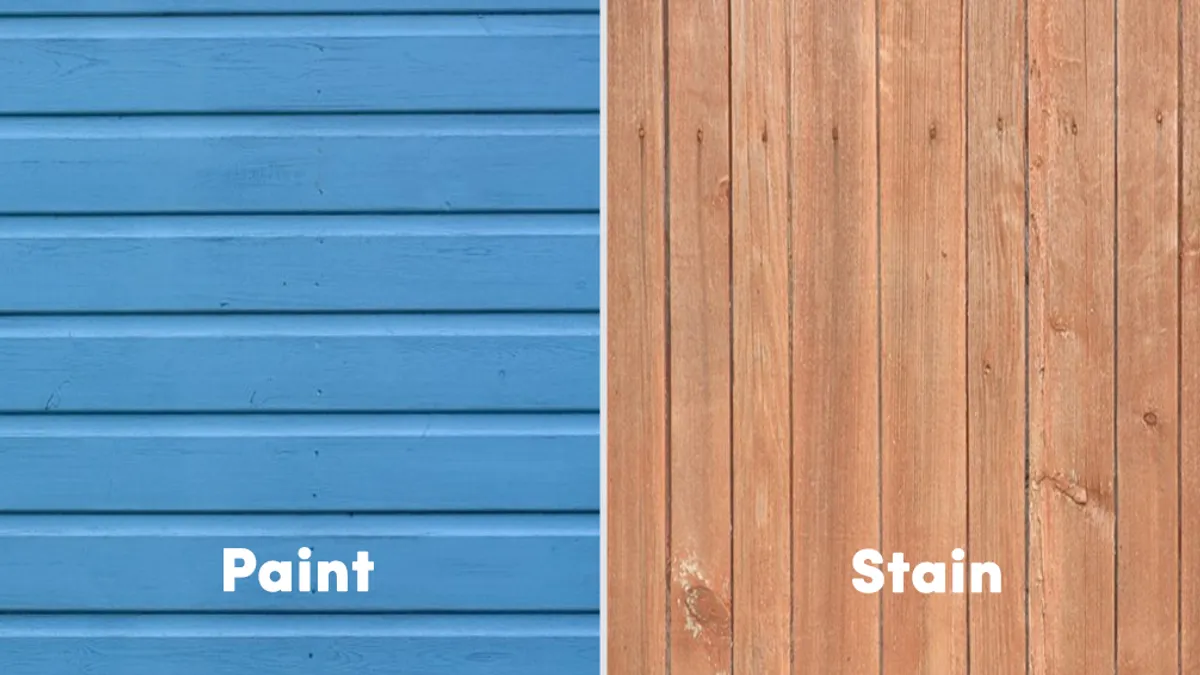
Is It Better To Stain or Paint A Wood Fence?
When it comes to painting a wooden fence, there are a number of options in terms of finish. There are three broad forms of exterior wood treatment; wood paint, wood stain & wood varnish. While a varnish creates a clear protection on wood, wood stains and wood paints are the two forms of coloured wood treatments that are great for fences.
Staining
Pros
- Stains still show the grain of the wood as they soak into the wood, which can create a softer, rustic look
- Allows the wood to breathe
- Can often be cheaper than paint but may not have the same coverage
- Re-application is an easier task
- Shows its wear a lot less
Cons
- It may look less pristine than a newly painted fence
- Stain needs to be at least 50 degrees to dry properly
- Less durable than paint
Painting
Pros
- Gives the fence a full new look with a bold solid colour finish
- Providing extremely effective protection
- Can be applied on top of surfaces that have already been painted on
- Will cover a greater surface area than stain
Cons
- Paint smothers the wood
- Will crack and bubble under weathering which is more noticeable than a stain failing
Ultimately, the choice of finish you opt for is completely up to you, with equally high-quality fence treatments available in both paints & stains.
The Best Paints & Stains For Painting A Garden Fence
Cuprinol Ducksback
Culprinol Ducksback is an exterior wood paint that is specifically designed for exterior fences. It offers excellent value for money at £16.99 for a 5 litre tin, which makes it the perfect option for you if you are looking for a good-quality, solid colour fence paint to refresh your garden. The only downsides of Cuprinol Ducksback is only available in a number of popular shades and does not offer the same weather protection as other treatments on the market at 5 years. Having said this, it is wax enriched which repels water, which helps to protect the wood from water ingress.
Overall, if you are looking for a specific colour, this may not be the one for you. However, if you simply want an attractive and cost-effective paint to update your garden fences, Cuprinol Ducksback is the perfect paint for you.
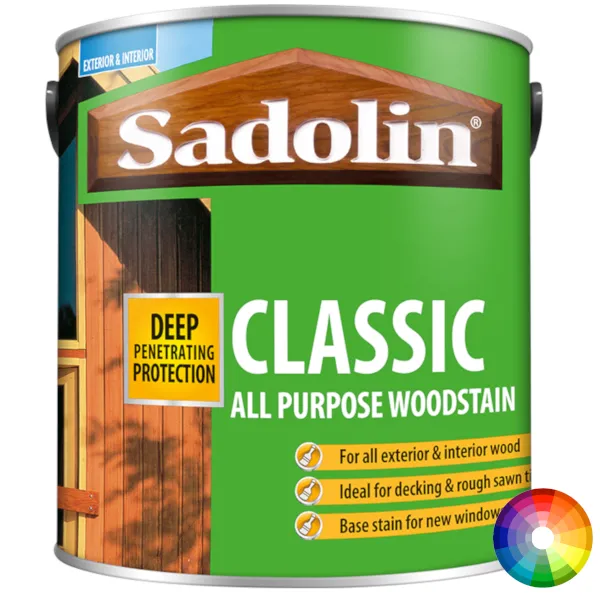
Sadolin Classic
An extremely popular exterior woodstain, Sadolin Classic is ideal for fences, sheds and decking. It deeply absorbs into the fence for comprehensive weather protection. Crucially, Sadolin Classic comes in a number of pre-made colours and is available to be mixed in almost any colour with a paint mixing service, giving you fantastic flexibility. It is slightly more expensive than other wood treatments, however it is in our experts opinion the best woodstain on the market. For added durability you can topcoat Sadolin Classic using Sadolin Extra.
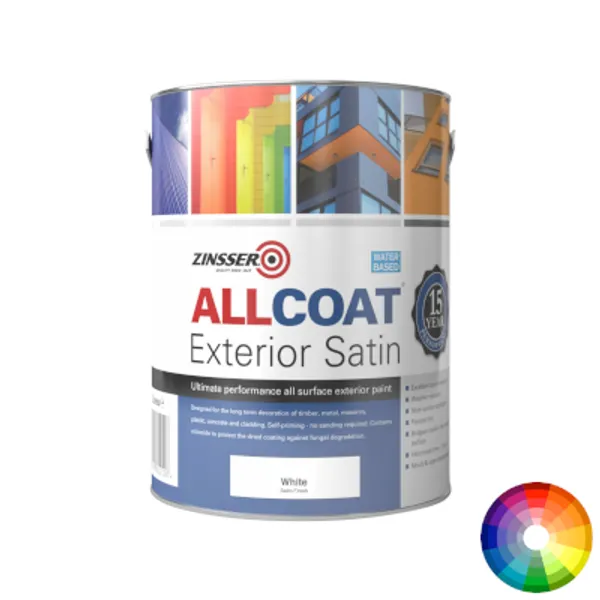
Zinsser Allcoat Exterior
Our final suggestion for an exterior fence paint is Zinsser Allcoat, which is the ultimate exterior paint. Not only is it available in almost any colour, but it also comes in satin, gloss & matt finishes, plus it can be applied to almost any exterior surface. It truly is one of the most versatile paints available in the UK. It is perfect if you have multiple exterior projects that you want to undertake at the same time, allowing you to perfectly match all of your exterior surfaces. It is the most expensive exterior fence paint on our list, but with a 15-year performance it offers brilliant value for money in the long-term.
How To Paint A Garden Fence
1. Clear
Before starting to paint your fence you first need to ensure that no shrubbery or plants are obstructing your ability to paint. Pinning them with plant ties will ensure an easier job for you and make sure the plants aren’t able to scratch the applied paint work.
2. Preparing The Surface
After removing any interference from plants, the next task will be to strip any additional features on your fence. Hanging baskets, planters and ornaments need to removed from the fence before any work can begin. Clean down the fence of any dirt as this will prevent the paint from adhering properly.
When all the additional parts have been removed and the surface is clean, making sure the fence is smooth enough to paint on is the next priority, sanding it down maybe the best option to create a surface that is satisfactory.
3. Prime
With the surface smoothed, the next step will be to administer the primer across the surfaces that will be painted. Using primer helps to stop the surface developing mould and aids in the adhesiveness of the paint to the surface. It also helps with the smoothness of the surface and sustains the paintjob’s longevity.
4. First Coat
With the surface fully primed, next comes the application of the paint. When doing so you can either apply by brush or sprayer either is optional.
When applying by brush ensure that the brush is of adequate size in order to make sure you’re not painting all day. When painting follow the grooves of the fence in order to receive a better finish and cover all the parts of the fence.
If choosing to use a sprayer, this method takes much less time and covers the fence more evenly. However, using a sprayer alone won’t get every nook and cranny and therefore a brush may be needed for the finer details.
5. Second Coat
After applying of the first layer, it may be advised to apply a second coat, depending on what paint or stain you are using. It is crucial that you read the instructions and carry out the painting exactly how the manufacturer has recommended if you want to achieve the best results.
6. Dry
With the painting stage complete, you just need to wait for the paint to dry before taking the ties off the shrubbery. The drying time of paints will vary, but will usually be between 2 to 4 hours.
We hope this has answered any questions you may have had regarding painting your garden fence. If you require anymore help, just send an email to the team at hello@paintersworld.co.uk. At Painters World we have a wide range of paints & decorating supplies available, so no matter the job, we've got the right tools for you.


